Guides / Mixing
How to prepare your stems for mixing
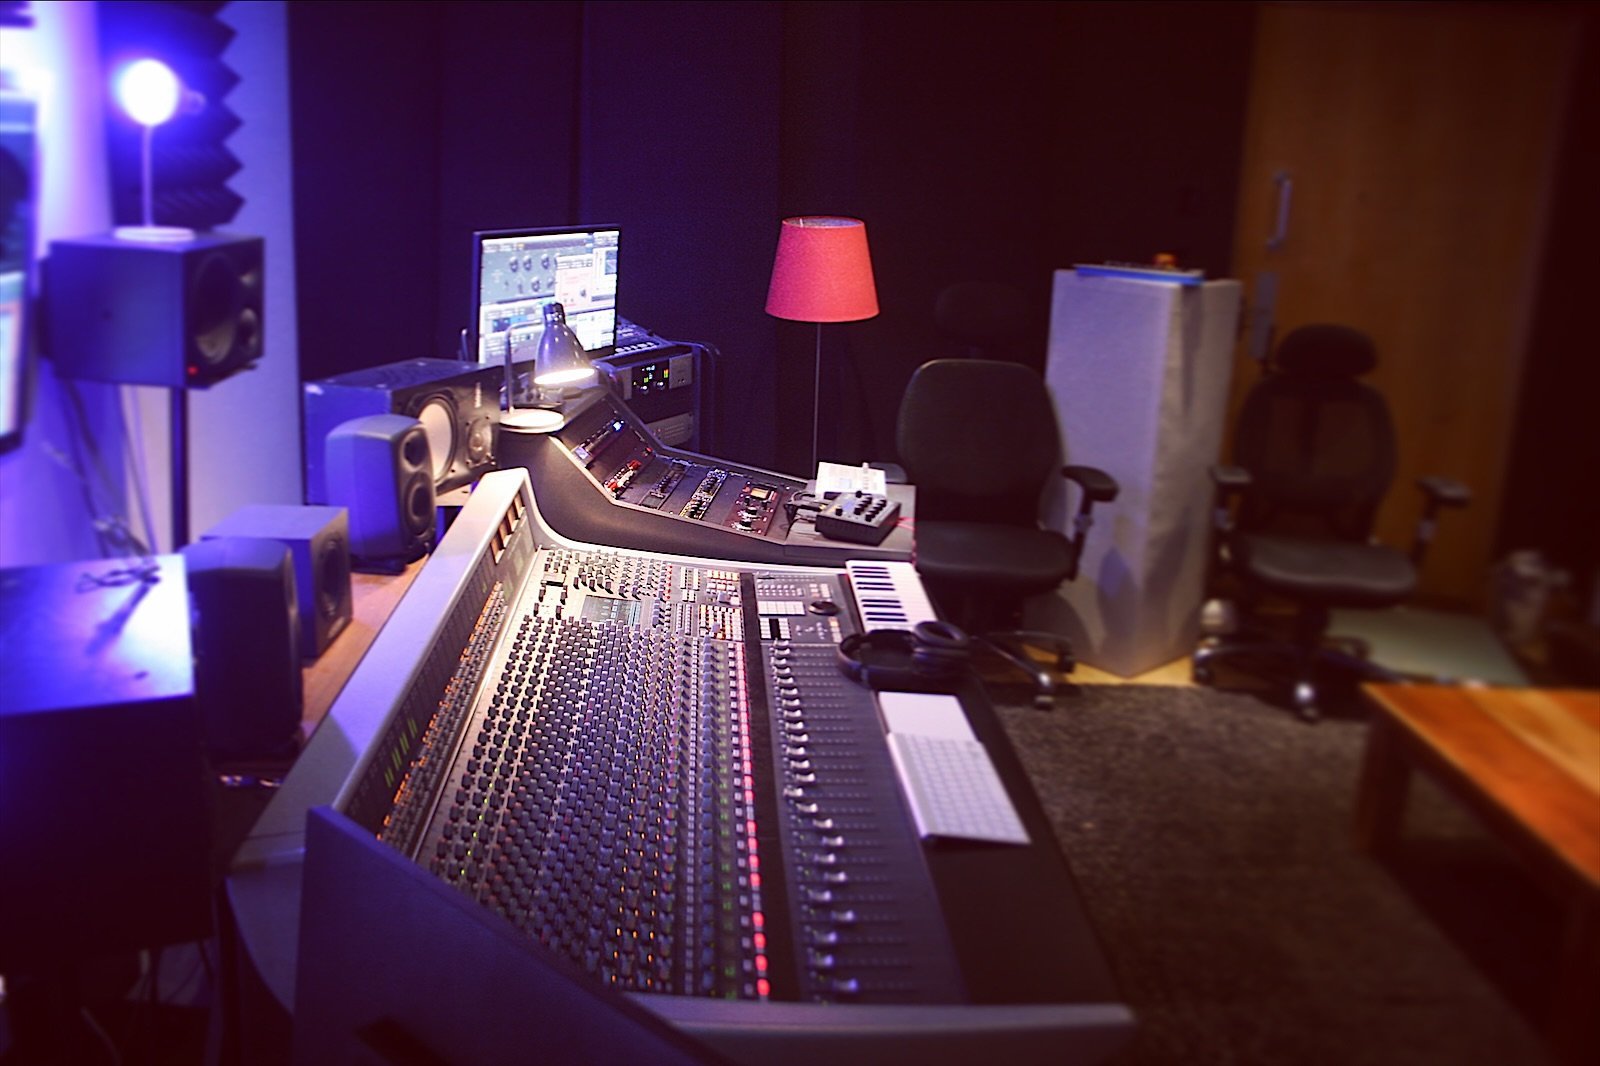
I open new sessions from artists all over the world. Some are ready to mix in minutes. Others need an hour of detective work before I can play a note: tracks that don’t line up, vocals with the reverb baked in, files called “Audio 14”.
The good news is that preparing your files properly takes about 20 minutes, and it makes a real difference. Your mix starts faster, nothing gets lost, and your engineer spends their time making the song sound great instead of fixing the session. Here’s exactly what I ask for.
Quick checklist
- Individual tracks (not just a few grouped stems)
- WAV or AIFF, 24-bit, at your session’s sample rate
- Every file starts at the same point (bar 1 / 0:00)
- No processing on your master bus, and nothing clipping
- Creative effects printed, standard reverbs left off
- Vocal tuning and edits committed
- Clear track names
- A rough mix, plus one or two reference tracks
- Tempo, key and a few notes on what you want
- Everything in one folder or ZIP
1. Stems or multitracks?
People use “stems” for two different things. Multitracks are every individual track in your session: kick, snare, bass, lead vocal and so on. Stems are groups of tracks bounced together, like “all drums” or “all backing vocals”.
For mixing, send individual tracks whenever you can. If the kick and snare arrive glued together in one drum stem, I can’t EQ or compress them separately, and that limits how good the mix can get. Grouped stems are only worth it if your track count is huge, and even then, keep the lead vocal, kick, snare and bass on their own.
2. Export format and settings
- WAV or AIFF. Never MP3 or AAC: they throw away detail you can’t get back.
- 24-bit (or 32-bit float). 16-bit is for finished masters, not mix files.
- Keep your session’s sample rate. I work at 44.1 kHz, but if your session is at a different rate, export at that rate and don’t convert it.
- No normalising and no dither. Just export the audio as it plays.
- Mono sources in mono, stereo in stereo. A vocal or a kick mic is mono. A stereo synth or overhead pair is stereo.
3. Start every file at the same point
This is the most important step. Export every track from the very start of the song, bar 1 or 0:00, even if the instrument only comes in at the second chorus. The silence at the start is what keeps everything in time when I drop the files into my session.
4. Turn off your master bus and check levels
Bypass any compressor, limiter or EQ on your master channel before you export, and leave the master fader at 0 dB. That processing is part of mastering, and it gets in the way if it’s printed on every track.
Make sure nothing is clipping (going into the red). You don’t need to hit a particular level. Healthy peaks with some room to spare are perfect.
5. Effects: what to print and what to leave off
Ask yourself one question: is this effect part of the sound, or part of the mix?
- Print it if it’s part of the sound: a guitar amp sim, a distorted synth, a filter sweep, a creative delay throw you love.
- Leave it off if it’s a standard mix effect: general reverb on the vocal, bus compression, “glue” on the drums. I’ll build those properly in the mix.
- Not sure? Send both: a dry version and a version with the effect, clearly labelled, e.g. Lead Vox DRY and Lead Vox FX.
6. Commit your vocal tuning and edits
If you’ve tuned your vocals or tightened the timing, print those edits into the files. Plugin settings don’t travel between studios, so if it isn’t printed, it isn’t there.
If your vocals still need tuning and editing, tell me. That’s a service of its own, vocal production & editing, and it’s worth doing properly before the mix.
7. Name your tracks clearly
Rename every track before exporting, so the file names tell me what’s inside. Numbering them in a sensible order helps too:
8. Include a rough mix and references
Your rough mix is the most useful file you can send. It shows me the balance and vibe you’ve been living with, including the little things you didn’t realise you love. Export it as a stereo WAV or MP3.
Add one or two reference tracks: released songs with the sound you’re aiming for. A Spotify or YouTube link is fine.
9. Write a few notes
A short note saves a revision round. Include:
- Tempo (BPM) and key
- Sample rate, if it’s anything unusual
- What you love about the rough mix
- What you want to change (“bigger chorus”, “vocal more upfront”, “darker overall”)
- Your deadline and where it’s being released
10. Put it all in one folder
Put everything in one folder named after the song, and zip it if you like:
Then upload it to WeTransfer, Dropbox or Google Drive and send the link. If you’re working with me, you can upload straight to my Dropbox at checkout, and you don’t need an account.
Common mistakes to avoid
- Exporting each track from where it starts, so nothing lines up
- Sending MP3s instead of WAVs
- Leaving a limiter on the master bus
- Reverb printed on the lead vocal with no dry version
- Muted or soloed tracks exporting as silence (check before you bounce)
- Forgetting the rough mix
Ready to send your stems?
I mix and master on an analog SSL console for artists worldwide. Pick your package, upload your files and pay securely in one go.
See prices & get 20% off Code EZRA20 is applied automaticallyQuestions people ask
Should I send stems with or without effects?
Print effects that are part of the sound, like amp sims or a creative delay, and leave off general mix effects like reverb and bus compression. If you’re unsure, send a dry and an effected version, clearly labelled.
What bit depth and sample rate should stems be?
24-bit (or 32-bit float) WAV or AIFF, at the same sample rate as your session. I work at 44.1 kHz, but don’t convert your files if your session uses another rate, and don’t use MP3.
Do I need to send MIDI?
Not usually. Bounce your virtual instruments to audio with the sound you chose. If you’d like the option to change a sound later, include the MIDI files as well.
How many tracks is too many?
There’s no limit. Send what the song needs, but remove empty tracks and takes you’re not using. Mixing prices are based on track count, so tidy sessions can cost less.